
The short answer
Start with a bicycle you can maintain and fit to the intended rider. Publish the frame size, riding style, included accessories and pickup details, then price for preparation and handoffs as well as riding time. Inspect it before each booking and make sure the renter understands its controls.
Choose a bicycle you can explain and maintain.
A bike you rarely ride may be a good rental candidate, but “it worked last summer” is not a maintenance record. Start with its current condition, service history and intended use. Have a qualified bicycle mechanic address anything you cannot confidently assess.
An everyday bicycle with a clear fit range and familiar controls can be easier to hand over than an expensive specialty setup. Think about whether you are comfortable with ordinary use marks, a delayed return or a repair that takes the bike out of service during your own planned ride.
| Bicycle | Help the renter understand |
|---|---|
| Beach cruiser | Frame and step-over style, gearing, coaster or hand brakes, basket and suitable riding surfaces. |
| Road or gravel bike | Frame size, geometry reference, pedal system, tire setup and intended surfaces. |
| Mountain bike | Size, suspension and intended terrain; avoid implying every trail or jump is suitable. |
| E-bike | Assist type, verified class where applicable, weight, controls, battery and charging arrangements. |
If you want to start with one bike, choose the one you know best—not automatically the one with the highest purchase price.
Make fit information easy to find.
Wheel diameter alone does not tell someone whether a bicycle fits. A listing that says “26-inch bike” can leave the renter guessing about frame size, reach and stand-over clearance.
Identify the model and marked frame size. Link or refer to the manufacturer’s sizing guidance when available, while explaining that a height range is only a starting point. Ask the renter about their height, riding experience and intended use before accepting a request that looks uncertain.
A more useful listing description
“[Model] bicycle, frame size [verified size]. Manufacturer’s sizing reference: [range or link]. [Brake type] and [gearing]. Includes [lock, lights and other actual accessories]. Pickup near [area]. Seat adjustment and a short control check at handoff; contact me about fit before requesting.”
Fill in verified details. Do not promise that one adjustable saddle makes a bicycle suitable for every adult.
If a rider cannot comfortably control the bike after appropriate adjustments, do not force the match. A different size or bicycle is the useful solution.
Price the rental, including your time.
Compare current local rentals of similar bicycles for the same duration. Note whether a shop includes fitting, helmets, delivery, roadside assistance or an immediate replacement bike. Your personal rental should describe what you actually offer.
Illustrative decision · Not a market rate
A $30 booking with a 45-minute turnaround
Suppose cleaning supplies and a wear allowance total $6. That leaves $24 before other expenses. If messaging, adjustment and both handoffs take 45 minutes, valuing your time at $20 an hour uses another $15. The remaining $9 still has to accommodate applicable fees, fixed costs and taxes.
Use your own figures. A convenient three-day booking could involve less handoff time per day; a one-day delivery could involve much more.
Our equipment pricing worksheet helps you compare total booking prices and cost assumptions without relying on a blanket percentage of purchase value.
Prepare the bicycle and photograph what matters.
The NHTSA pre-ride check is a useful starting reference for air, brakes and chain. For a rental, follow the manufacturer’s inspection and service instructions too. A quick check does not replace scheduled maintenance.
- Check function: tires, brakes, wheel retention, steering, saddle attachment and drivetrain. Resolve looseness, cracks, braking problems and unusual behavior before making it available.
- Count accessories: the actual lock and key, lights, helmet if supplied, and any other promised item. Check their condition separately.
- Photograph the fit: a full side view, size marking, brake controls, pedals and adjustment points.
- Show condition: include existing scuffs and accessories together, then take fresh condition photos at handoff.
Keep serial numbers in your private inventory record. Public photos should explain the bike while avoiding keys, lock combinations and personal addresses. For a fuller between-booking routine, see the Journal’s rental equipment inspection checklist.
Use pickup to confirm fit and controls.
Arrange a meeting point where the renter can safely check the bike. Explain how its brakes work, how to shift and how to secure it. Give the rider time for a short, controlled check before they leave. Never assume someone who rides at home knows this particular setup.
Discuss a properly fitted helmet and the lights and visibility equipment needed for the intended ride. NHTSA’s bicycle safety guidance is a useful reference. Confirm local riding and equipment rules; a bike rental does not grant access to every path, beach or trail.
Agree on the return time, meeting point, overnight storage and what to do if a tire goes flat or the bike becomes unsafe. Do not imply roadside pickup or repairs are included unless you can provide them. On return, inspect and count the accessories before marking the bike ready again.
E-bikes need a separate charging and access plan.
Identify the actual assist system and explain starting, stopping, assist levels and any throttle. Publish the bike’s weight and relevant manufacturer limits. Avoid promising a mileage range: terrain, assist level, load and battery condition affect it.
The CPSC recommends using the supplied or manufacturer-recommended charger and remaining present while charging. Do not hand over a suspect or damaged battery. Follow manufacturer instructions and check recalls and local e-bike access rules.
If charging is needed during the booking, agree on the approved charger, appropriate storage and instructions beforehand. If you cannot support safe charging or explain the controls, resolve that before listing an e-bike.
Set clear expectations for damage and responsibility.
Insurance is the owner’s responsibility.
Local Rentz does not provide insurance for rentals on its platform. Equipment owners are responsible for obtaining any insurance coverage they need. Check with your insurance provider before listing, because personal insurance policies may not cover equipment rented to others.
Record existing wear together, explain how to lock and store the bike, and use the booking’s actual cancellation and return terms. If new damage is reported, keep the bike unavailable until it has been assessed. Photos help establish facts; they do not guarantee payment for a repair. Review the platform terms and local requirements for your operation.
Create a listing the right rider can choose.
Go to List your stuff, follow the current sign-in and category steps, then add your bicycle’s details and photos. Set the rental prices, block unavailable dates, and describe pickup, accessories and rules. Review the finished listing as though you had never seen the bike before.
When a request arrives, confirm fit and logistics before accepting. After a few completed rentals, review which questions recur and add those answers to the listing.
Put it into practice
Before your first bicycle rental
- Bike identified, sized and serviced; no unresolved safety or functional issues.
- Actual frame size, controls, intended surfaces and accessories described.
- Helmet arrangements, visibility equipment and local riding rules considered.
- Fresh photos, private inventory record and accessory count prepared.
- Price includes realistic preparation time and wear costs.
- Pickup allows a fit and control check; return and problem-contact plan agreed.
- Insurance needs checked with your provider; Local Rentz does not provide insurance.
Common owner questions
Can I rent out just one bicycle?
Yes. Start with one bike you know well and can reliably inspect, prepare and hand over. Keep dates blocked for your own use and servicing.
Do I need to include a helmet?
Make the helmet arrangement clear before booking. Encourage a properly fitted helmet and check applicable rules. If you supply one, verify its condition and follow its manufacturer’s inspection and replacement guidance.
Can the renter adjust the seat?
Explain which adjustments are allowed and how to make them correctly. Stay within the manufacturer’s limits and have the setup checked at handoff. A seat adjustment cannot fix an unsuitable frame size.
Does Local Rentz insure my bicycle?
No. Local Rentz does not provide insurance for rentals on its platform. Equipment owners are responsible for obtaining any insurance coverage they need. Check with your insurance provider before listing, because personal insurance policies may not cover equipment rented to others.
Sources & further reading
Checked November 4, 2026. Use manufacturer instructions for the specific bike and confirm current local rules.
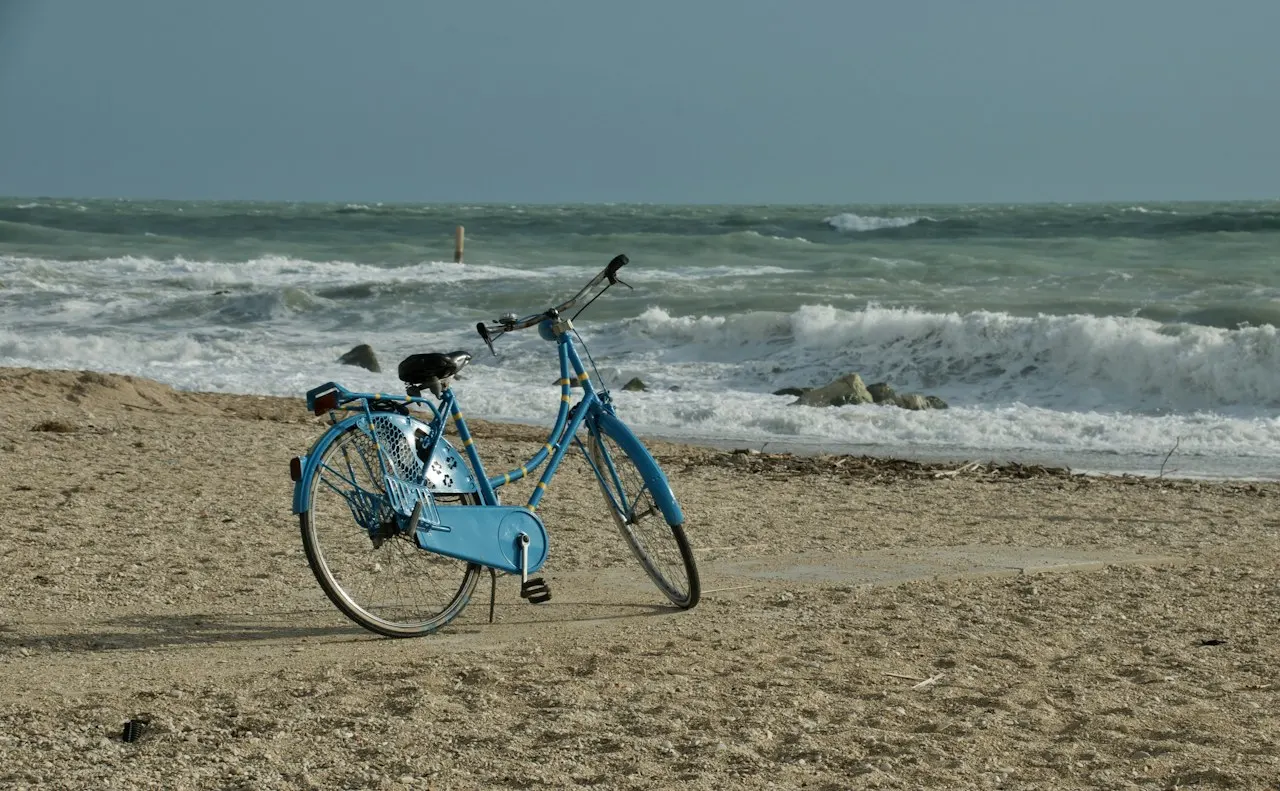
Photo: Mario Beducci / Unsplash, under the Unsplash License. Illustrative photo, not a Local Rentz listing.